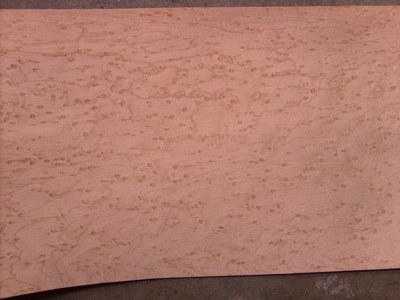
When I bought my Spit-6, one of the many issues that needed attention (After addressing mechanical and fuel issues) was a 30+ year old dash with peeling veneer. I decided I wanted something a little different and settled on Bird's-Eye Maple. The Veneer Store had what I wanted at a reasonable price (about $30 on sale). You must read their dimension descriptions carefully. I almost ordered a 15"x7" piece before I realized my error. I found a 48" x 18" sheet that fit the bill.

New Bird's-Eye Maple veneer sheet for dash restoration
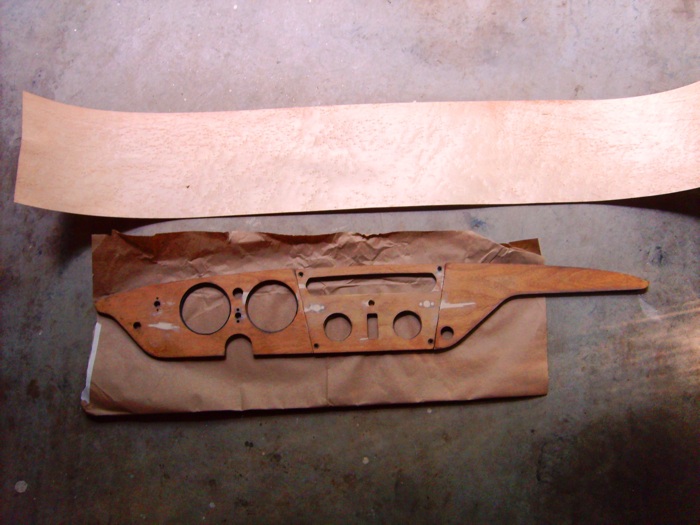
Having removed the dash panels, Fill in any waves, divots and chips with wood putty. As well, I wanted to remove the "seat belt" light, so I filled in that hole. Sand everything smooth. Any imperfections will show up later.

Old dashboard cleaned, filled, and sanded, ready for new wood veneer
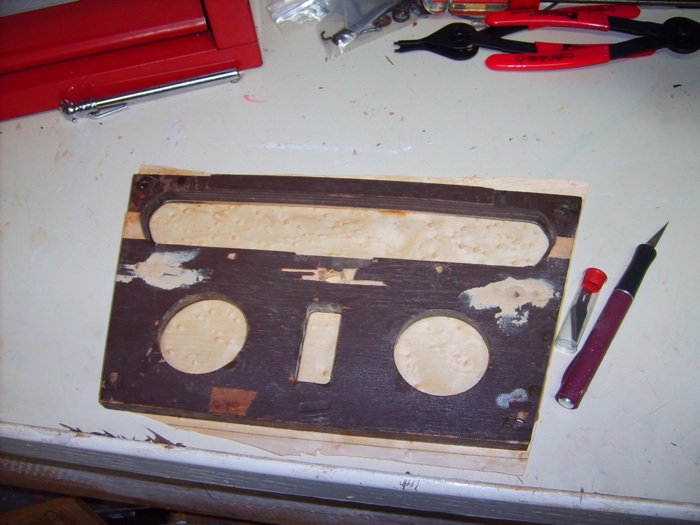
Lay the veneer out on a clean table covered with wax paper. Arrange your dash pieces on top of the veneer to insure fit. Remove each piece one at a time and evenly apply carpenter's wood glue. Do each piece in turn and allow to set up for about 1/2 hour.

Gluing dashboard pieces to new wood veneer
Gently rotate the entire assembly to have the veneer side up and use a roller to push out any excess glue and, especially, bubbles. Separated by wax paper, sandwich the dash assembly between wood planks and clamp with furniture clamps. After about an hour or so, remove and check again for bubble.
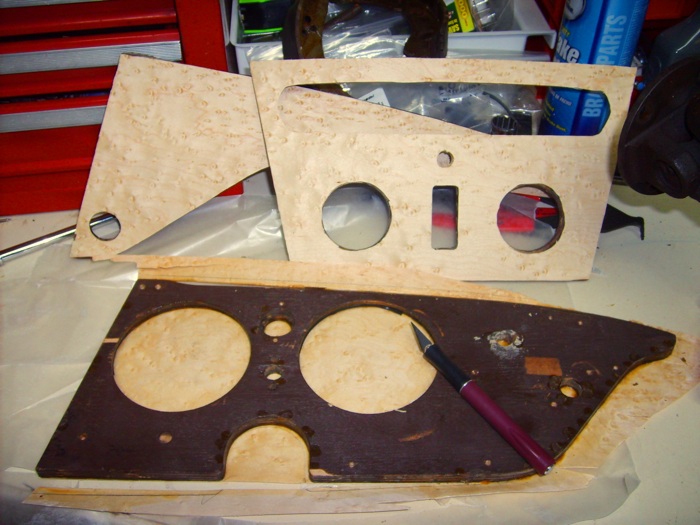
When dry (allow AT LEAST a day) cut out all gauge & light holes carefully with an X-Acto knife. Test-fit your gauges and ancillary lights, etc. Sand with #400 grit sandpaper and stain to the shade of your choice.

Cutting out gauge and lamp holes in new dashboard veneer - carefully!
Use a polyurethane (I used semi-gloss) sealant. When dry, lightly sand with #400-600 grit sandpaper and re-apply the clear polyurethane. I did four coats. I highly recommend using a liquid urethane applied slowly with a sponge brush since the spray urethanes don't cover as well ar as uniformly.
Be patient and take your time and you will wind up with a beautiful dash you can be proud of.
Now go for a drive!


Want to leave a comment or ask the owner a question?
Sign in or register a new account — it's free